
Swapping Heads: A Disk-y Business
A couple of months ago, i asked around on Mastodon if anybody was able to provide some HDDs with hardware faults. Clicking, Buzzing, Silent. Whatever. I wanted to learn the art of Head Swapping and other shenanigans.
Two weeks later, somebody I know, answered my call into the Fediverse, with a drive i could try to get the data from it. I was delighted and scared.
Why scared, you might ask. Let me explain: i did head swaps before. Not with real data though. I disassembled and reassembled a drive multiple times. But this was new territory for me. I was scared in fucking stuff up, causing more damage to the drive and being the irresponsible person all the Recovery Experts are talking about. Software Problems, damaged PCB, no problem. But opening up a drive with real data on it was always a no-go for me. Until now.
Unboxing and Initial Impressions
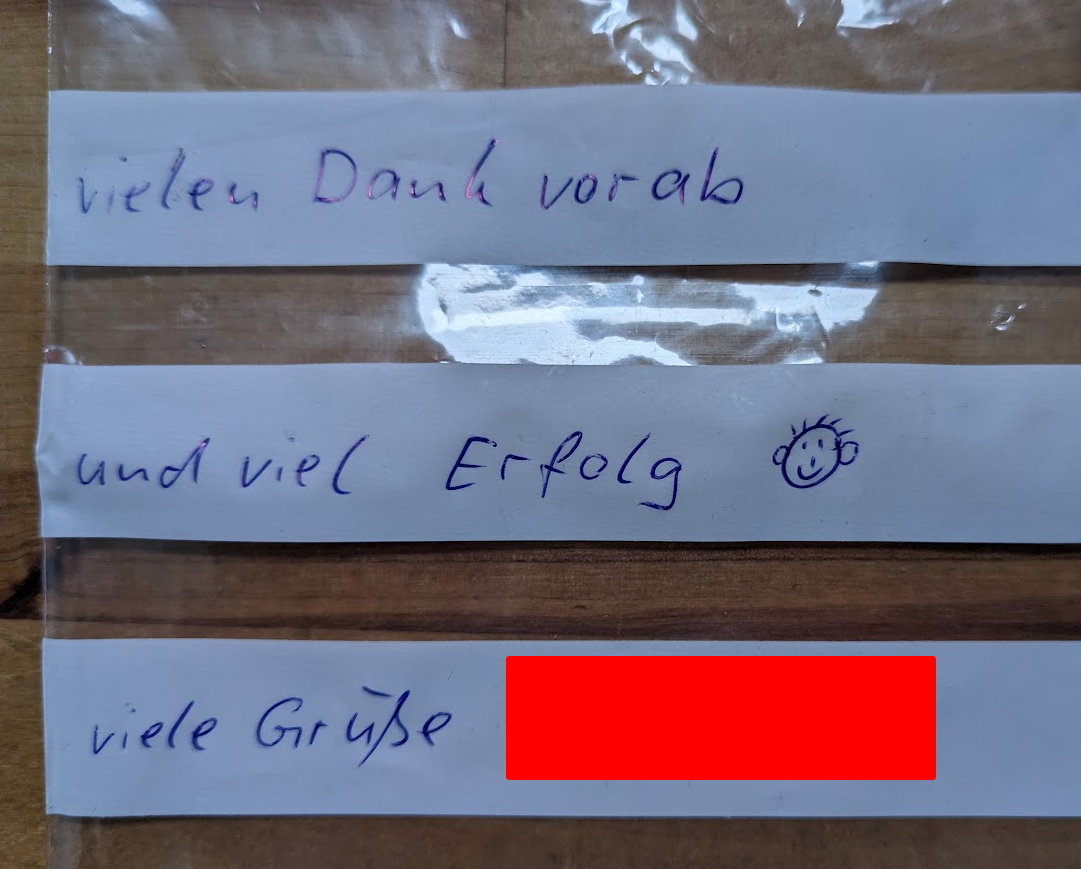
Upon arrival of the drive i was greeted with a nice “good luck” on drive, which was a kind gesture and I really needed it. I took the drive out of the box and was happy to see, that is was opened before. Data Recovery People are not happy, if the drive has been opened (they even charge more in this case), but for this case, it took the pressure of me and I knew, that somebody already tried their luck on it.
A HM160HI Samsung Drive with 160gb of storage was my patient. It has one platter and one head inside, but more on that later. Powering Up the drive you heard the click of doom, which most of the time means a head which is not able to read stuff of the platters.
The first problem came up: What is a good donor drive, and do i have one in my collection. Unfortunately, i didn’t have one and i began to scour the internet for potential drives. The problem with Samsung drives is you need to know the preamplifier version of the heads, which was not printed on the label of the drive.
You can read this by accessing the terminal connection of the drive, and it spats just out, but i would need to buy drives of eBay with no idea about the pre-amp version.
Therefore, I looked for a drive which was manufactured close to the date off the drive and has at least the same model.
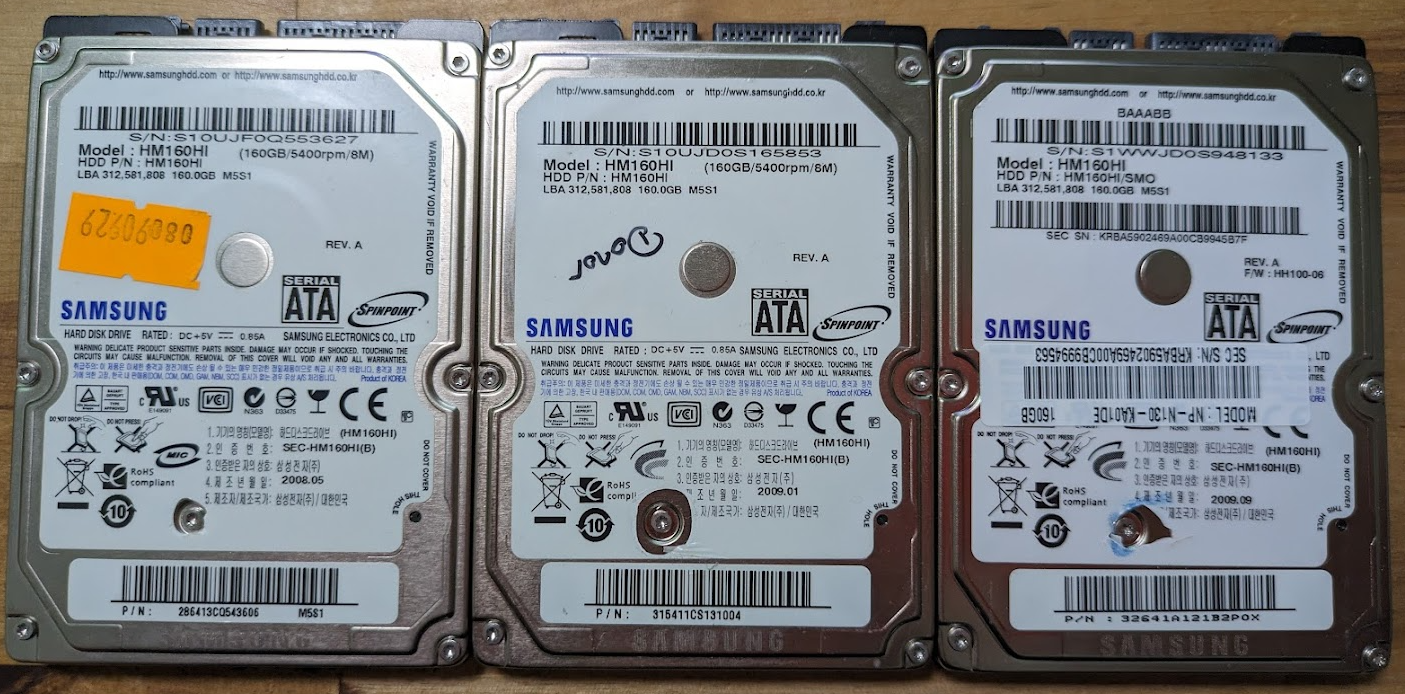
And luckily, i found 3 drives which were cheap enough to purchase and have a go. One of them was manufactured 1 month prior to my patient drive. I was confident to achieve this. I was on fire.

Pre-Op Preparations: Setting the Stage
Warning
If you value your data above 400 Euro and you can’t bear to imagine losing this data, please talk to a special data recovery expert and get an official quote. If you don’t have this kind of money, leave your drive sitting on your shelf, ’till you do!
Most likely you will blast your data into oblivion, if you attempt this on your first try.
I don’t have a fancy jig to put my drives in, i don’t have any fancy actuator combs to prevent the heads from sticking to each other, i don’t have any clean room environment. This is most likely a failed mission, but i know theoretically it is possible. Therefore, i want to have everything in my head to achieve a fast and clean head swap, with minimal exposure.
After laying everything beside me, cutting my improvised blister pack “springs” to keep the head separated, i revised what had to be done:
- Opening the patient drive and removing the head assembly
- removing the lid
- unscrewing the connection to the PCB
- removing the top magnet
- sticking in my blister spring
- removing the parking break and rotating the head outwards
- unscrewing it from the bottom
- pulling out the head assembly
- Closing the lid again to avoid dust getting in
- Opening the donor drive and removing the head assembly
- doing the same stuff
- Putting the hopefully good head assembly into the patient drive.
- doing the same stuff in reverse
What should go wrong here….sounds like….i can do this….maybe

In fact, i practiced this a couple of times in disassembling and reassembling a drive to know everything inside out.
Executing the Head Swap
After choosing my donor drive to be the most likely one of being 1 month manufactured prior and having the exact same label as my patient, i opened the drive and removed the head assembly. I got the new head in quite fast without visible dust on the platters. I was scared on using any kind of compressed air, because i remembered liquid coming out in front sometimes, so i figured every dust particle which set on the platters would fly away due to rotational force anyway on power up of the disk. Liquid on the platter would be a much greater hassle.
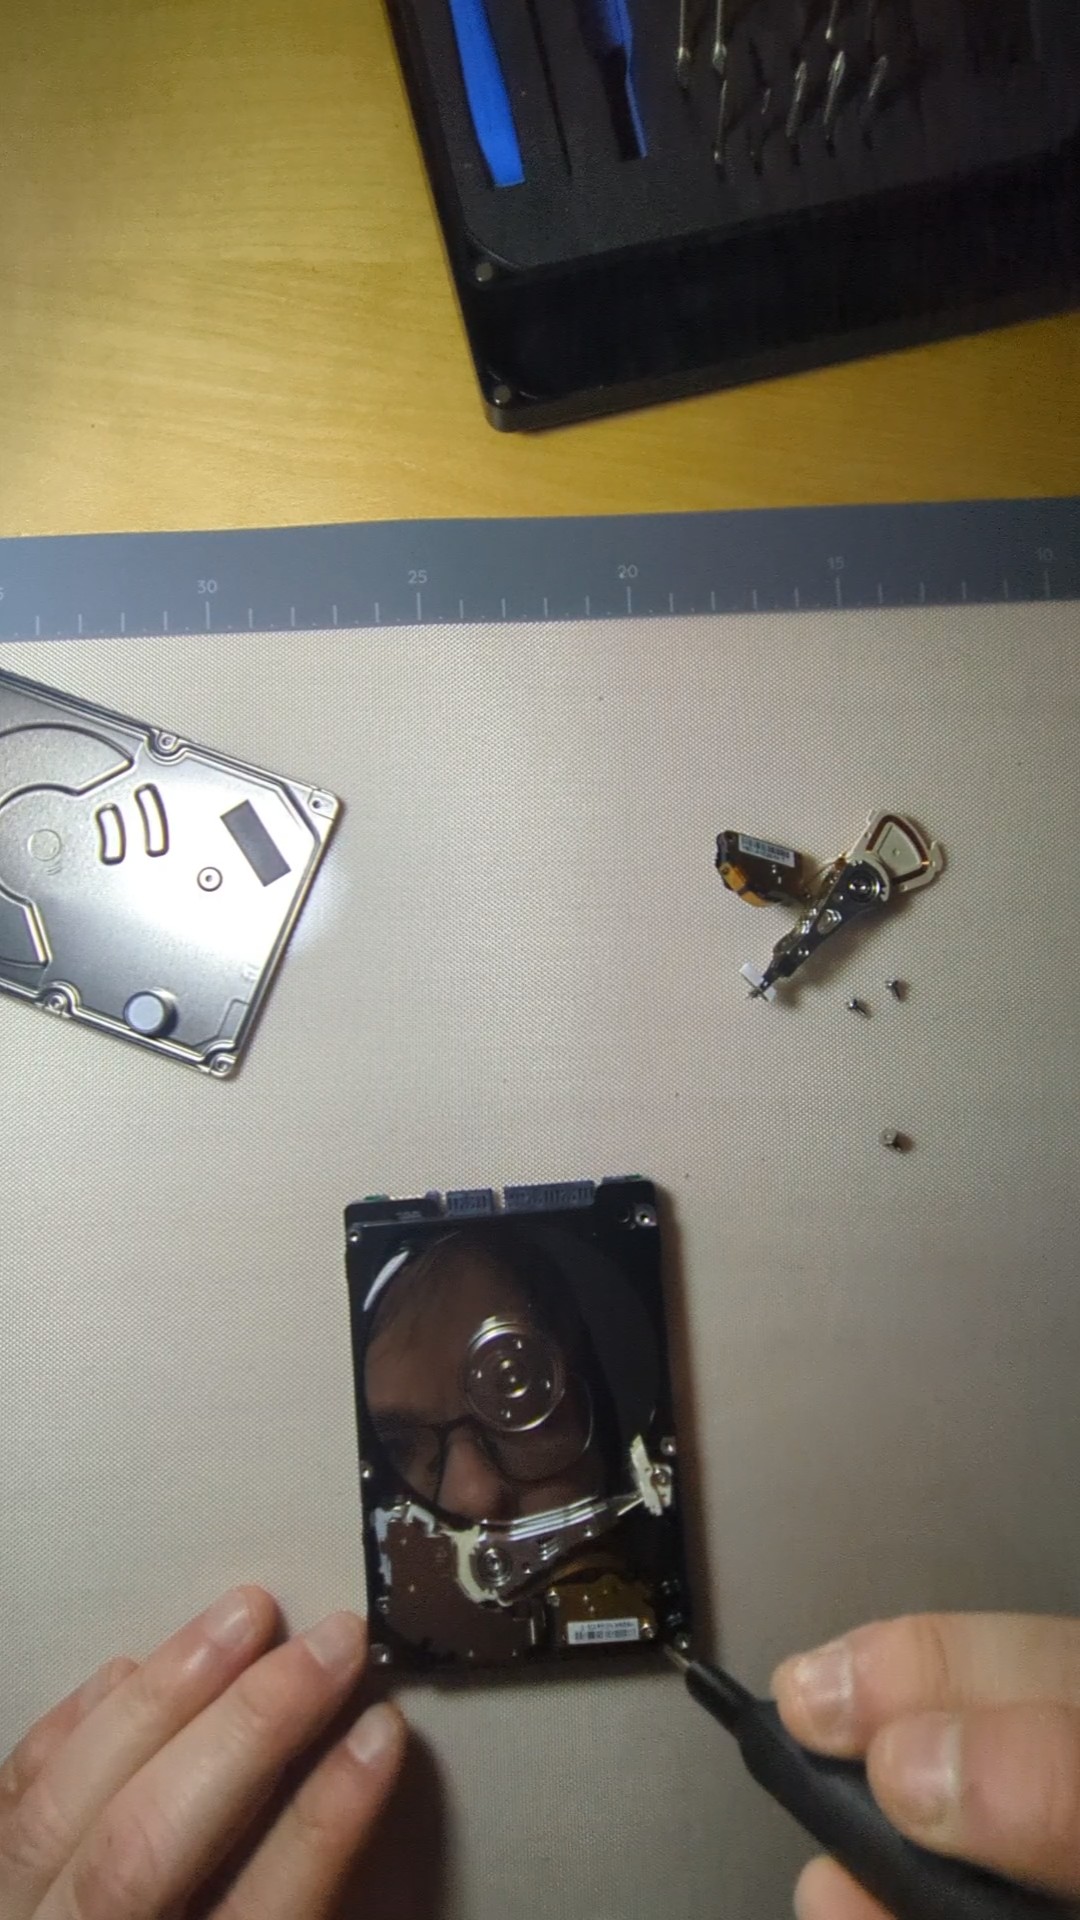
The swap was pretty smooth and went uneventful. It was like i had done these hundreds of times and it felt good.
Moment of Truth: The First Power-Up
The first power up of the drive was horrible though. It made clicking noises. I was devastated, because i wasn’t sure if it was my fault and what i did wrong. I swapped the heads back and powered up the original donor drive with its original head and it worked flawlessly. Therefore, i figured: it is not the right head for this drive. (in hindsight, i could have checked the terminal output…but didn’t know about this)
I attempted another head swap with another donor drive and to my surprise, the markings on the actuator was the same as in the patient. I was confident again.
And it worked…

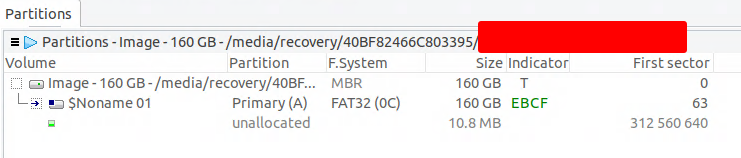
The drive spun up, no noises, and it identified in OpenSuperClone. It was slow in reading, but it was reading!
The Imaging Expedition
My recovery PC (ThinkCentre, which i got of eBay for 15 Euros) has multiple SATA Ports hidden from the OS through GRUB.
GRUB_CMDLINE_LINUX_DEFAULT="libata.force=1:disable,3:disable,4:disable"
OSC (OpenSuperClone) can access these directly through a custom kernel module. This way the communication with the drive is not interfered by any Passthrough of the operating system, and we are able to send direct ATA Commands to the drive itself. In Addition, the drive draws power over a Ykush Relay Board, so OSC is able to cut the power to the drive to recover from a stuck drive faster.

This is not important, but it ups the chances of a successful recovery, as the communication with the patient drive is much better and cleaner.
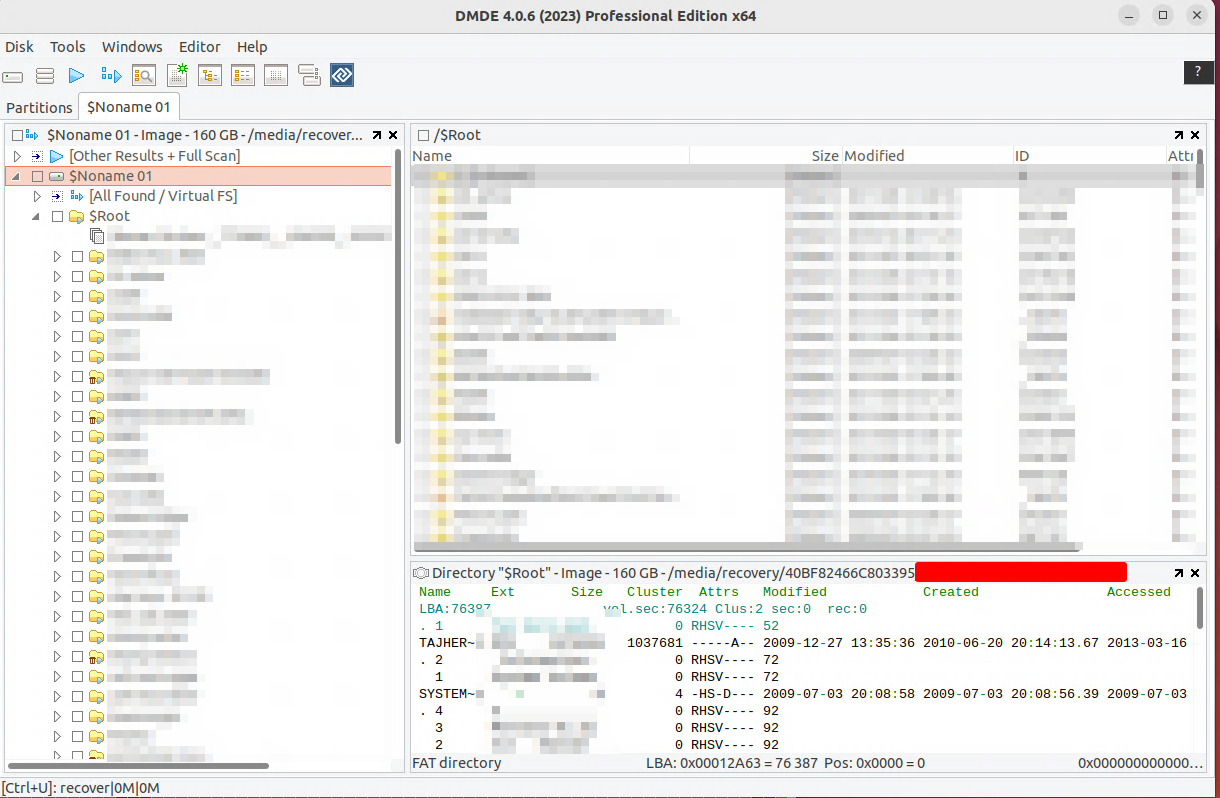
Afterward, i used a combination of DMDE and OSC to only get the relevant sectors.
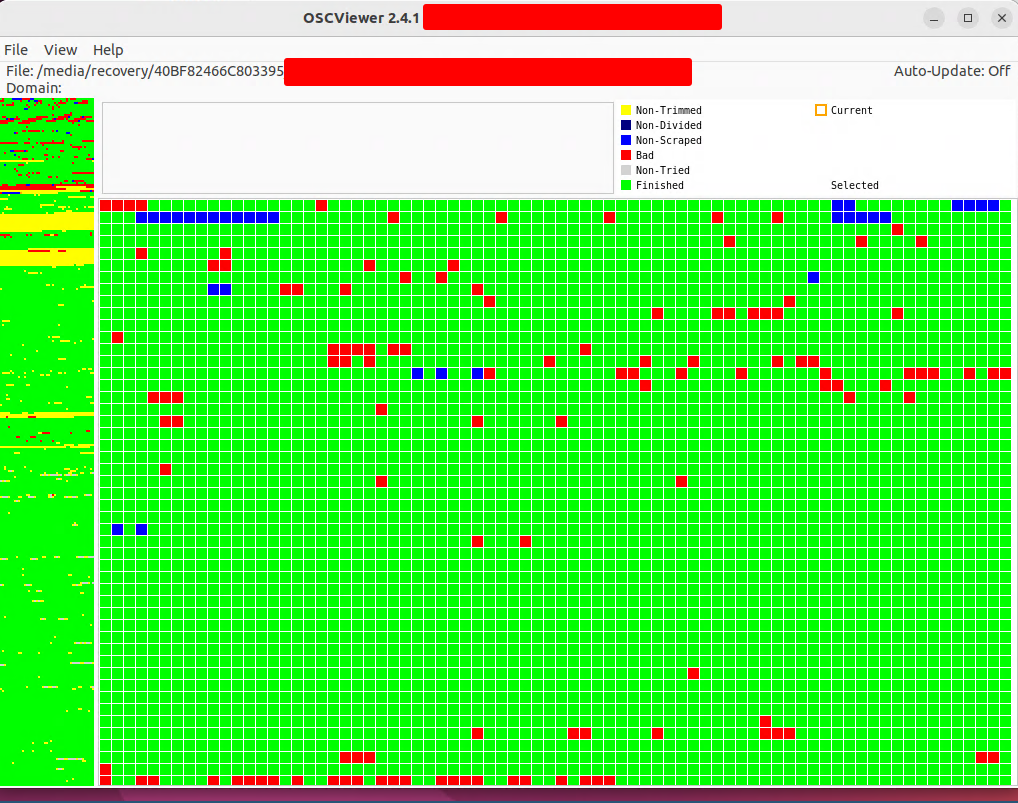
By imaging the MFT (Master File Table), or in this case FAT (File Allocation Table) first and reading that into DMDE, it is possible to export a list of used sectors. Importing this list into OSC again as Domain, OSC images the relevant sectors sequentially in the best way possible. In addition, it would be possible to image backwards and circumvent the cache of the drive. I thought about using the virtual driver on OSC, but it had some problems when using with a good drive and kept getting stuck and i didn’t want to take the chance to kill the head while imaging, because of this. Therefore, i imaged the first few Megabytes of the drive and tried to read the image file into DMDE. This resulted into a Virtual File System through File System Reconstruction in DMDE and i could export the sector list.
With a real fast Phase 1 timeout of 150ms, which means if the answer of a sector read takes longer than 150ms and keeps on going and skips the next sectors, and a fast Phase 2 timeout, which does that in reverse, i was able to get a lot of data already. Grinding on in Phase 3 on the relevant important sectors, i was able to achieve something around 98% recovery of the used sectors of this drive.
There are still a lot of untouched sectors and some files where glitching out. I bet it would be possible with another new head and maybe platter cleaning to get more of the drive. But it is probably not worth it. It won’t ever be a 100%, as there were some platter damage which i was able to work around.
Interestingly: grinding the bad sectors and retrying would work as well to get more coverage, but this is a big toll on the head and i didn’t want to crash it to soon.
Reflections and Revelations
- I think, i could have achieved a better result with using a clean environment (laminar flow hood or similar)
- I wear a facemask and gloves now
- Incorporating a lens cleaner ball duster to keep particles of the platter
- Head Swaps are not scary. You can achieve them, if you plan ahead, you trust in your abilities and your data is not important to you.
- Having head combs should make it way easier, than stuffing in those pesky little custom-made “springs” from blister packs
- OpenSuperClone in combination with DMDE or R-Studio is the shit.
- Using DMDE to read the Master File Table of the virtual device provided with OSC and just recovering the used sectors is really the best option to achieve a good result
- Everybody on eBay is your friend
- MAKE BACKUPS
- CHECK YOUR BACKUPS!
- MAKE BACKUPS OF YOUR BACKUPS!
References
Give Credit where credit is due. There were a lot more links and forum posts, etc. But these are the most important ones.
- Finding a potential Donor drive: https://www.donordrives.com/blog/matching-guide
- Connecting a terminal connection to a Samsung drive: https://www.hddoracle.com/viewtopic.php?f=116&t=189
- OpenSuperClone, which is a fork for newer Kernels from HDDSuperClone: https://github.com/ISpillMyDrink/OpenSuperClone
- Best Resource about HDDSC/OSC to date: https://www.youtube.com/@hddsuperclone1364/videos
- Scott Moulton’s Talks at Defcon and his multi day course available on YouTube.
- Defcon 14 Anatomy of a Harddrive - https://www.youtube.com/watch?v=foLPlaXWK8I
- Defcon 15 Re Animating Drives Advanced Data Recover - https://www.youtube.com/watch?v=K3otcdYF-lY
- Scott’s Channel: https://www.youtube.com/@ScottMoulton/videos
- HDD Recovery Services: https://www.youtube.com/user/hddrecoveryservices
so long